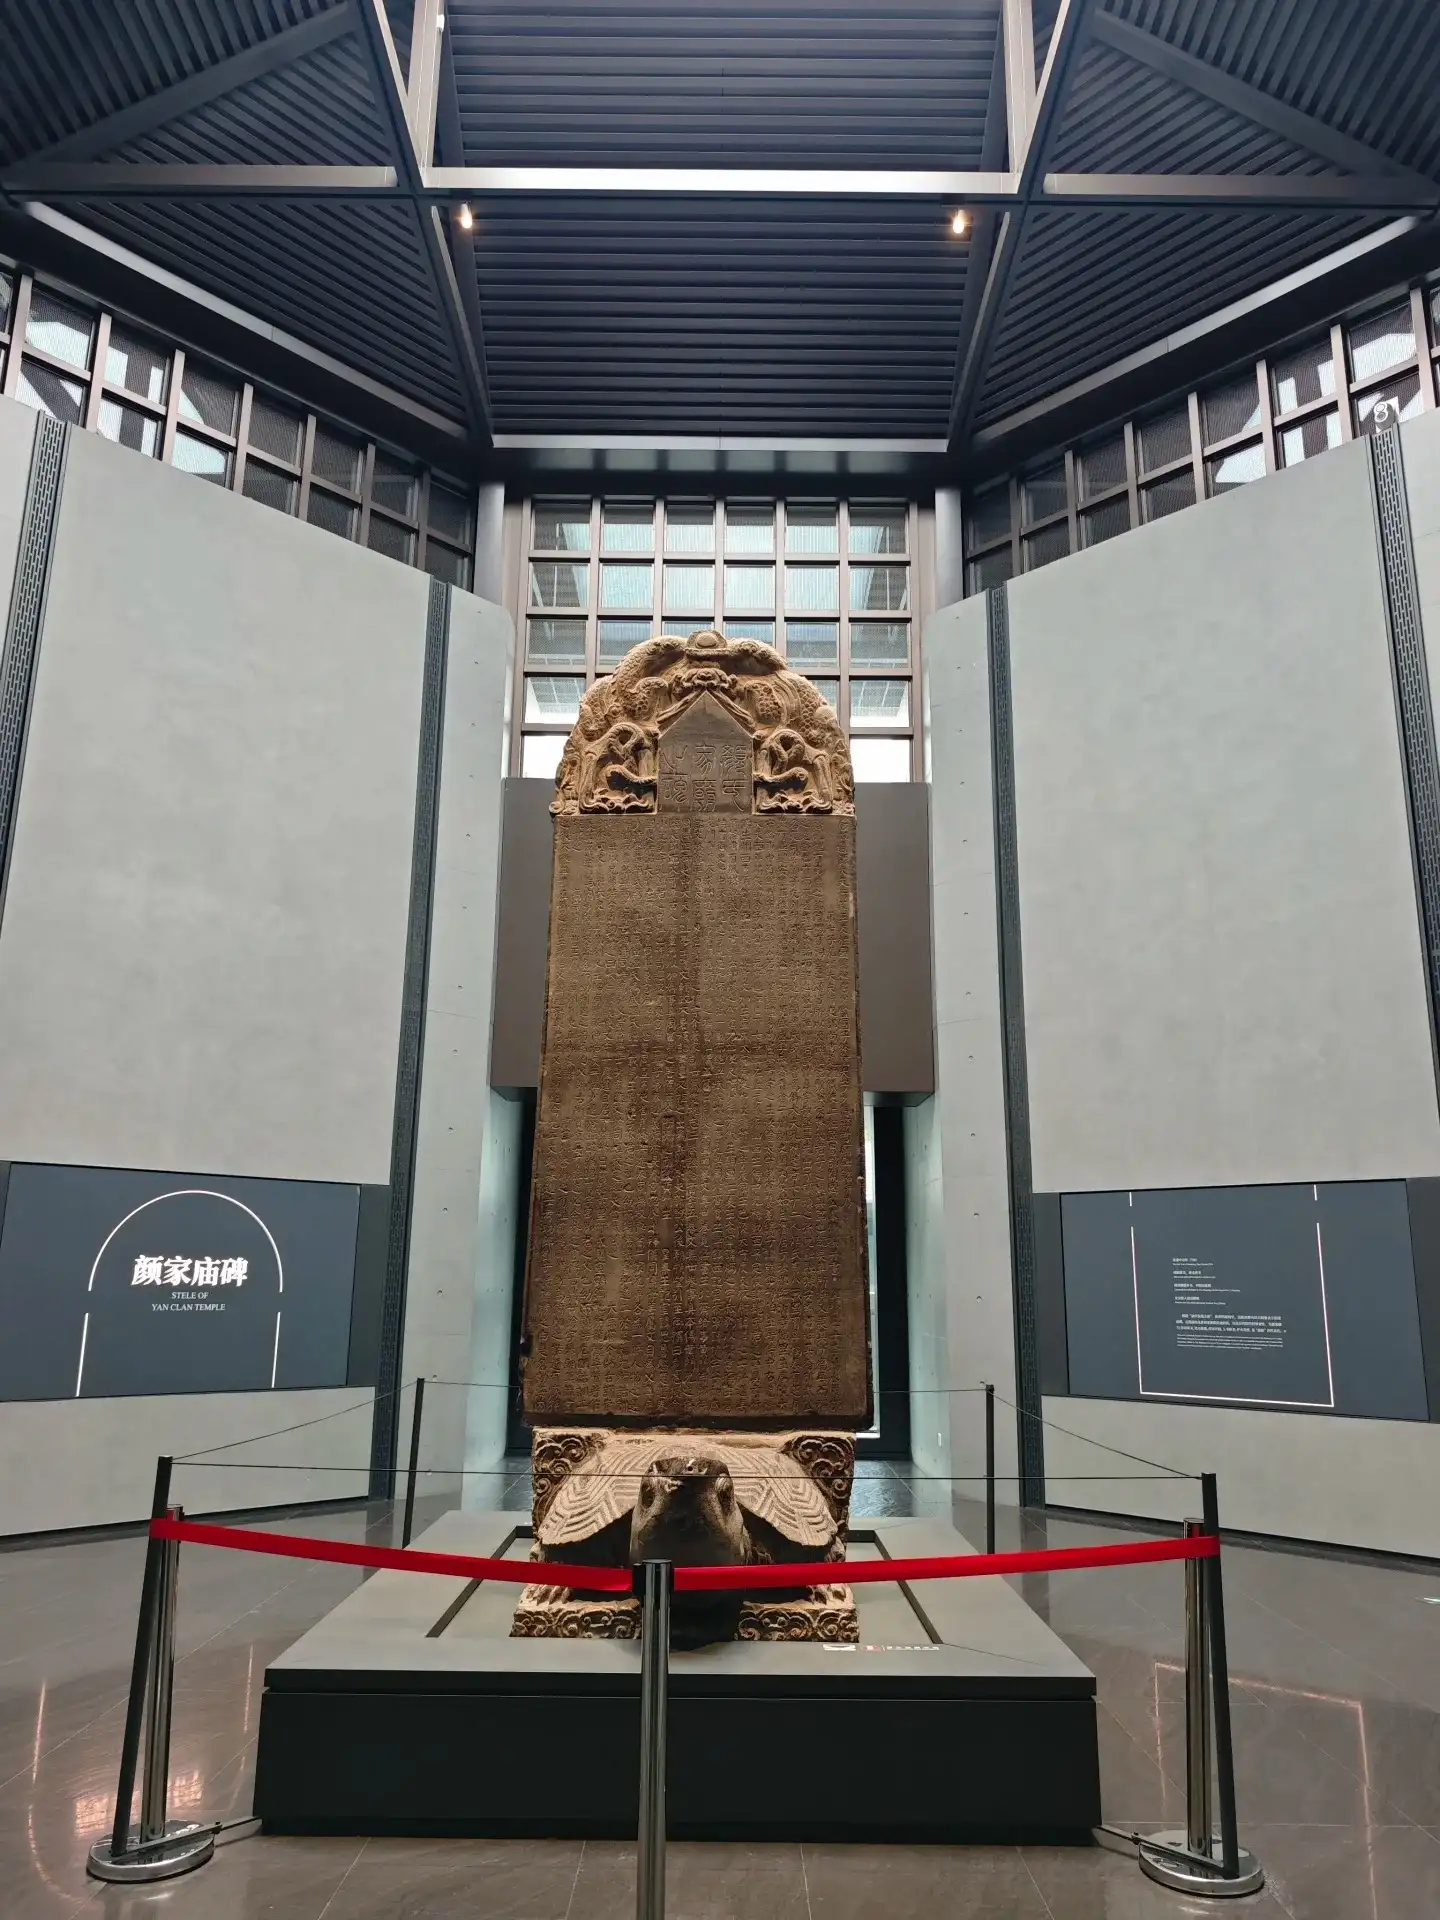
After taking a photo of a stele, you often encounter two problems: either the characters aren’t clear, or the image is beautiful but you can’t recall its name. When photographing at the Beilin Museum, it’s helpful to follow a simple sequence: read the description, view the full scene, select details, and record identifying information. Photography can help organize your observations during the visit, but the rules in the exhibition halls and the flow of other visitors always take priority. This article provides general guidelines for photography; it does not assume the reader has visited the site, nor does it guarantee that specific exhibits will be on display on the day of your visit.
Step 1: First, check where photography is permitted
Check before arriving at the museumOfficial Visitor Guidelines for the Xi’an Beilin Museum. After entering the museum, continue to check the signs near the exhibition halls and individual artifacts. The official guidelines list restrictions on commercial photography and video equipment. For standard cameras and cell phones, follow the instructions provided for each artifact and exhibition hall; regulations may vary by exhibit, temporary exhibition, and area. If in doubt, confirm with staff—especially regarding flash, tripods, and video recording.
Check your phone settings as well. Some modes automatically activate the flash or fill light; before entering the exhibition hall, make sure to turn off any features that conflict with on-site rules. When photography is permitted, choose your vantage point based on the layout of the aisle, and try not to let your backpack protrude into the path of other visitors. Visitors reading exhibition labels and those taking photos may be facing the same artwork at the same time. First, check if anyone is waiting nearby, and step aside after taking your photo. If it takes a long time to compose your shot, please try again later; do not turn public viewing areas into personal photo sessions.
Step 2: Take a clear, recognizable full-view photo of the stone stele
The primary purpose of a full-view photograph is to document the object’s shape and the viewer’s perspective. First, find a safe spot to stand where the edges and base of the stele are within the frame; if exhibition conditions do not allow for a full shot, do not step back into the center of the aisle or cross the caution line. A smartphone’s wide-angle lens can distort the shape of nearby edges; when taking a photo, try moving slightly farther away first, then capture the scene at an appropriate angle. If you cannot move back, frame only the visible portion and note this in your records to avoid misidentifying a partial view as the complete form.
Shaanxi Provincial Bureau of Cultural Relics RegardingReport on the Lecture on the Forms of Beilin Stone CarvingsThe discussion covered various media such as carved stones, steles, monuments, and cliff inscriptions. This provides a useful guideline for photography: in addition to the textual content, the shape of the medium bearing the text and its spatial context are also worth documenting. Refer to the exhibit labels to identify the form and style, then use photographs to document the outlines and structures you can recognize. First-time visitors should start by capturing the general outline of the object, as this will provide a clue for future research.
Step 3: Capture fine text details by adjusting your lighting
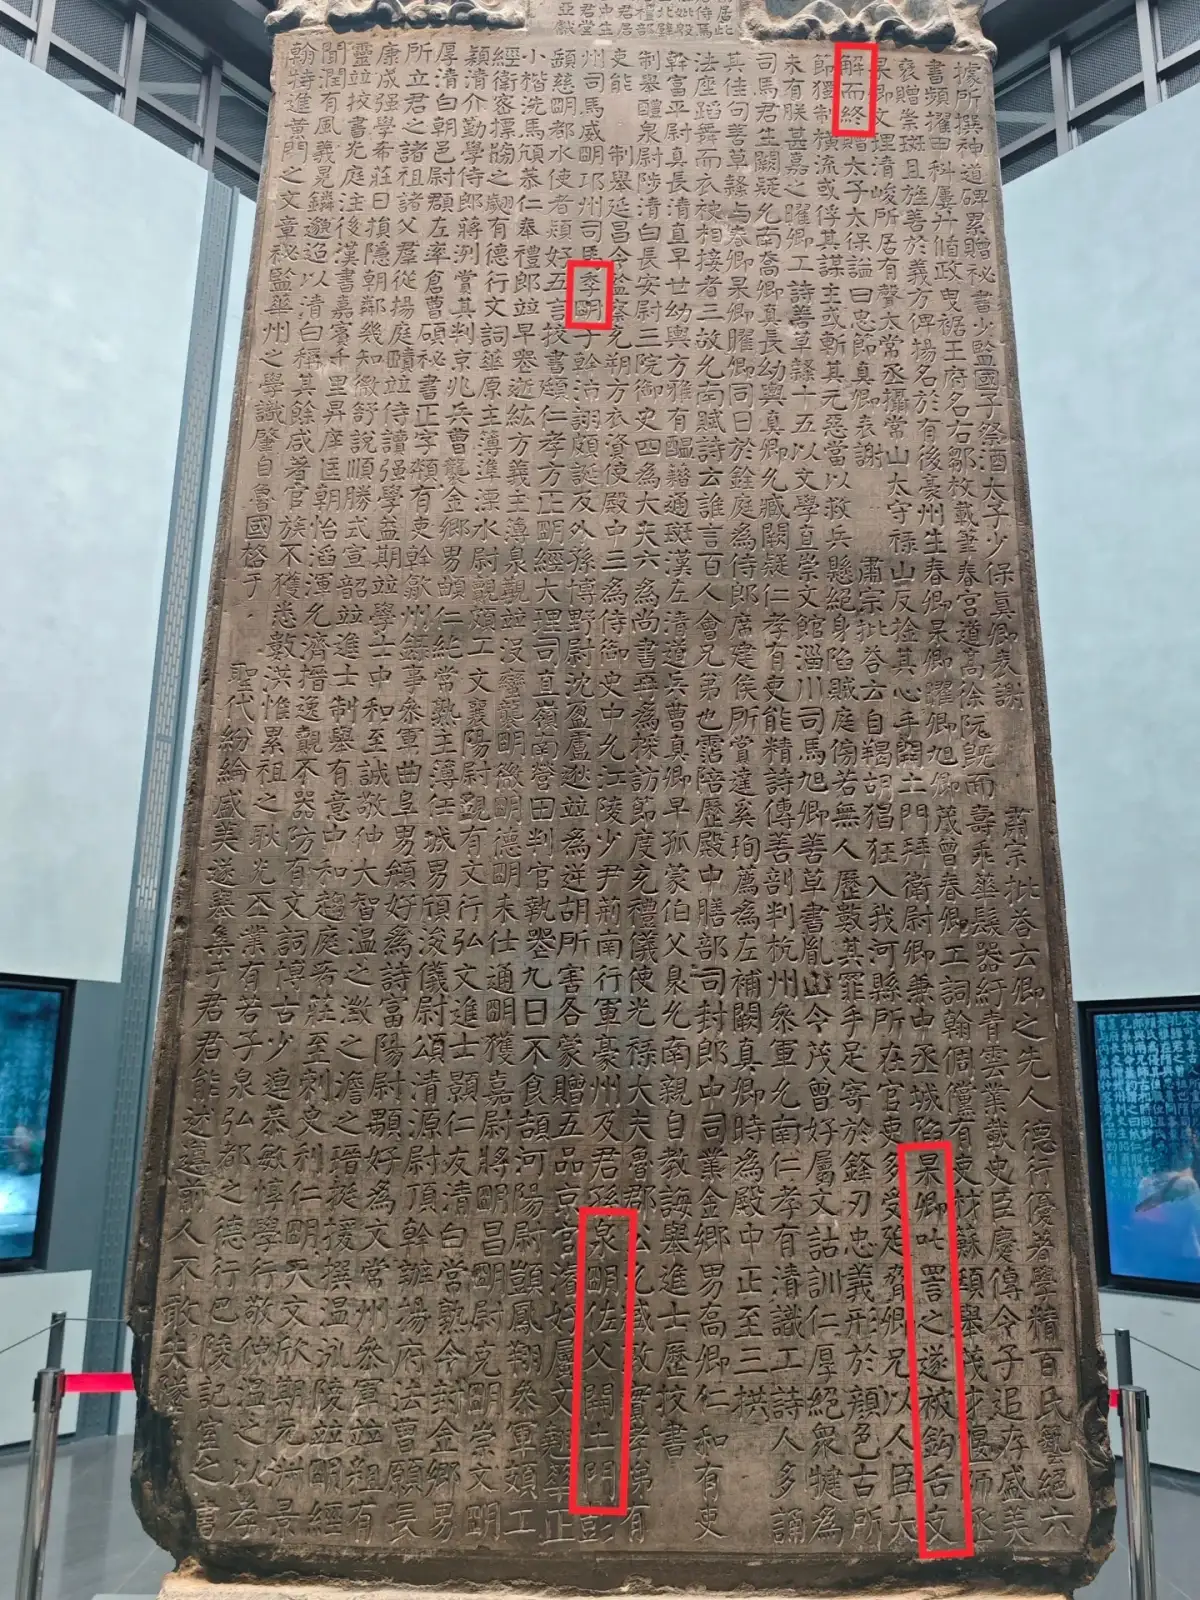
A close-up of densely inscribed characters on a stone stele; the original image features a red highlighted box. Photo:Lu_Cicci · Original Post.
The characters on the stone surface require light and shadow to reveal their depth and contrast. The same object may appear with different contrast levels when viewed from various permitted vantage points. First, use your eyes to clearly make out a section of text, then compare it on the screen; if the photo appears too bright, you can adjust the exposure appropriately—if your device allows—to preserve the texture in the brighter areas of the stone surface. The goal is to clearly capture visible details, not to uniformly darken all stone steles to a deep black. After shooting, zoom in to inspect a single section of text—this makes it easier to spot out-of-focus areas than taking many consecutive shots.
小红书作者菲菲不停想入非非的Photographic Notes on the Stele ForestThe mention of using a prime lens and underexposure documents personal visual choices. This approach mimics the human eye’s perspective and is useful for comparing results with one’s own equipment and viewing distance. Smartphone users can also start by experimenting with the basic shooting mode to see the results; equipment is merely a means of recording, while the size of the display, viewing distance, and lighting conditions ultimately determine how to operate on-site.
A smartphone’s automatic enhancement feature may sometimes alter the brightness, darkness, and color of the stone surface. If your goal is to identify the text later, take a separate, minimally edited reference photo at the same time. Do not digitally restore strokes you believe are present in worn-out characters during post-processing and then present them as the artifact’s original appearance; when interpreting inscriptions, consult the official exhibition labels or the museum’s published materials. Photographs cannot fully capture subtle engravings; acknowledging a section that is unclear is more reliable than making historical judgments based on sharpened lines.
Step 4: If you encounter glare, reposition yourself
Displays with glass may reflect lights, screens, and visitors. Within permitted limits, you can adjust your angle slightly to the side to ensure reflections do not obscure key text; clothing or the bright screen of a cell phone may also appear in the reflection. Maintain a natural distance; do not press your lens, a light-blocking object, or your body against the display case, and avoid touching it. Deviating too far from the front will distort the text, so you’ll need to balance minimizing glare with maintaining readability. If you cannot capture the text in its entirety clearly, take a photo of a portion of it and refer to the exhibit label for context.
Does strong glare necessarily mean you can’t take photos? You can adjust the purpose of your photos. Images intended to identify specific works should prioritize clarity, while photos capturing the exhibition hall can moderately include the relationship between people and the glass—but if others are recognizable, you should obtain permission first. If on-site regulations prohibit photography, switch to taking written notes instead. Do not move lighting fixtures, open display cases, or alter the placement of artifacts to improve your shots, and under no circumstances should you download photos from original posts to supplement your own collection.
Step 5: Record exhibition labels and details together
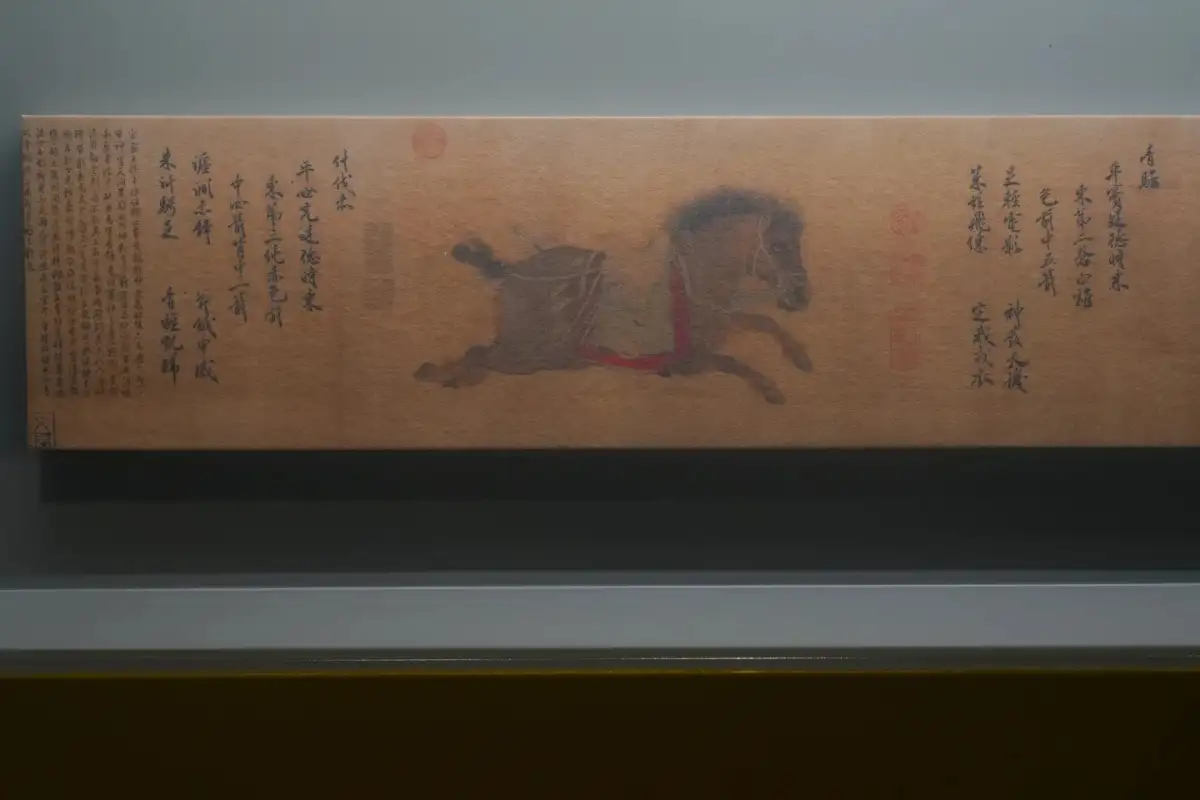
A figure scroll with a colophon displayed in a showcase at the Xi’an Beilin Museum. Photo:Feifei Can’t Stop Daydreaming · Original Post.
Keep a record of each exhibit label next to a photo of the corresponding artwork; this makes it easiest to match them later. Where photography is permitted, start by photographing the title and key descriptions before photographing the object itself; if the exhibit label cannot be photographed, jot down the work’s title and any questions you have in your notes. Exhibit labels, display locations, and official catalog numbers are more reliable than descriptions like “the black stele in the third room.” Do not assume two works are the same simply because an image resembles one found online; replicas, rubbings, and originals must be distinguished according to the museum’s instructions.
小红书作者Lu_Cicci的Stele Forest Visit RecordLinking the viewing experience to calligraphy, textual content, and the history of the subjects provides a perspective beyond photography. Reviewing the works after reading the notes allows the textual content to interconnect with visual details. This offers a suggestion for travel editors: after a photographic record is presented, it can also leave the reader with a question that sparks further curiosity. For example, why a particular character was arranged in a certain way, or how the same subject differs across different media.
Even if you don’t understand calligraphy, can you still take interesting photos? Start with the relationships you can see directly: the density of horizontal and vertical lines, the ratio of text to white space, and the wear on the edges versus the surface texture. Treat these as your own visual observations—there’s no need to immediately judge the quality of the calligraphic style. If you want to understand more deeply, read the official descriptions or opt for a formal guided tour. Keep your aesthetic impressions separate from historical interpretations in your notes; this way, your photos won’t have to carry professional conclusions you haven’t yet mastered.
Step 6: Compile a collection of visit records to look back on
After leaving the museum, compile the exhibit label, a full view, and close-ups of the same artwork, delete obviously out-of-focus or duplicate photos, and then add notes on what you observed and any questions that remain. For photos of people or those intended for public release, separately verify authorization and scope of use. Photography is permitted during personal visits but does not automatically imply permission for commercial promotional use; museum collections, exhibitions, and individuals may also have their own restrictions. Images used on this site must have a legitimate source; the images in this article are reserved for topics pending authorization.
If time is limited, selecting a few pieces to document will help you recall your visit more effectively than taking a blurry photo of every exhibit. If your travel companions do not enjoy photography, agree in advance on times for individual viewing and when to wrap up together to avoid having them wait while you take photos. To plan further cultural trips to ancient capitals, please refer to this website.Introduction to Xi’an. For this visit to the Beilin Museum, focus on a recognizable stone carving, an explanatory note you can understand, and a question you’ll still want to explore after returning home.
Source and Editorial Notes
This article is an original travel guide compiled by the Dongxing Travel editorial team based on the listed materials; it is not a firsthand account by the author. The full text of the original post has not been reproduced; accompanying images are used within the scope of authorization and are credited to the author and the source of the original post. They do not serve as proof of actual visits or services provided to Dongxing Travel clients.
Feifei Can’t Stop Daydreaming · Practicing Photography at the Beilin Museum 📷 · Travel Notes; Verified/Updated: October 3, 2026.
Lu_Cicci · Green Plum by the Inkstone | Xi’an Beilin Museum · Travel Notes; Verified/Updated: October 3, 2026.
Xi’an Beilin Museum · Important Visitor Reminders for the Xi’an Beilin Museum · Official sources; Verified/compiled on October 3, 2026.
Shaanxi Provincial Bureau of Cultural Relics · Xi’an Beilin Museum Hosts Special Lecture on Stone Carving Forms · Official sources; Verified/compiled on October 3, 2026.